You’ve just wrapped up your latest YouTube video and you know it’s going to be a hit. But have you transcribed it yet? Transcription might seem like a time-consuming task, but it doesn’t have to be. In fact, you can generate a YouTube transcript in just a few clicks! Want to know how? In this guide, we'll explain how to get a transcript of a YouTube video, so you can maximize every piece of content you make.
If you're new to transcription, check out our guide that explains what a transcript is and how it works.
Benefits of a YouTube transcript
There are plenty of reasons why you would want to transcribe your YouTube videos. Mainly, a transcript improves the accessibility of your content, helping you tap into a wider audience with just one video. With an accurate transcript, you can generate subtitles that let viewers follow along in real time — perfect for boosting engagement. Your YouTube video transcripts can also be translated easily, so you can share your content across the world in minutes.
But the perks don’t stop there. YouTube transcripts are a gold mine for future content creation. Editable transcripts make it easy to find and pull quotes — perfect for journalists. You can also repurpose your written record into blog posts, social media content, and more.
How to open a transcript on YouTube
YouTube has a free transcription feature built into the app. To see transcripts on YouTube, follow the steps below.
- Pull up the video you want to transcribe.
- Scroll down to the description box and click "...more" to expand it.

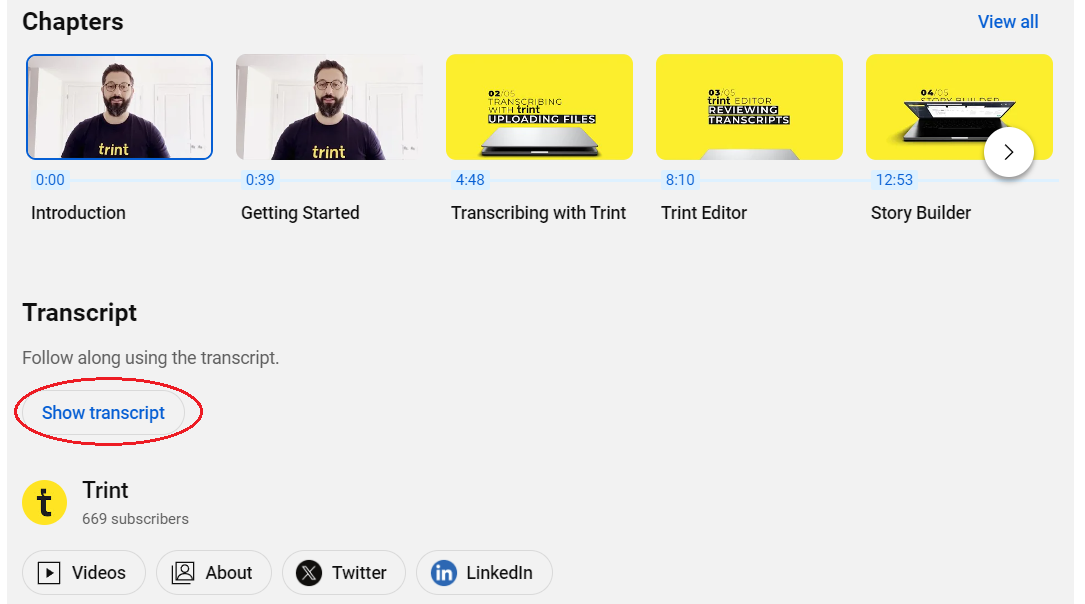
- Scroll to the bottom of the description box and click "Show transcript".

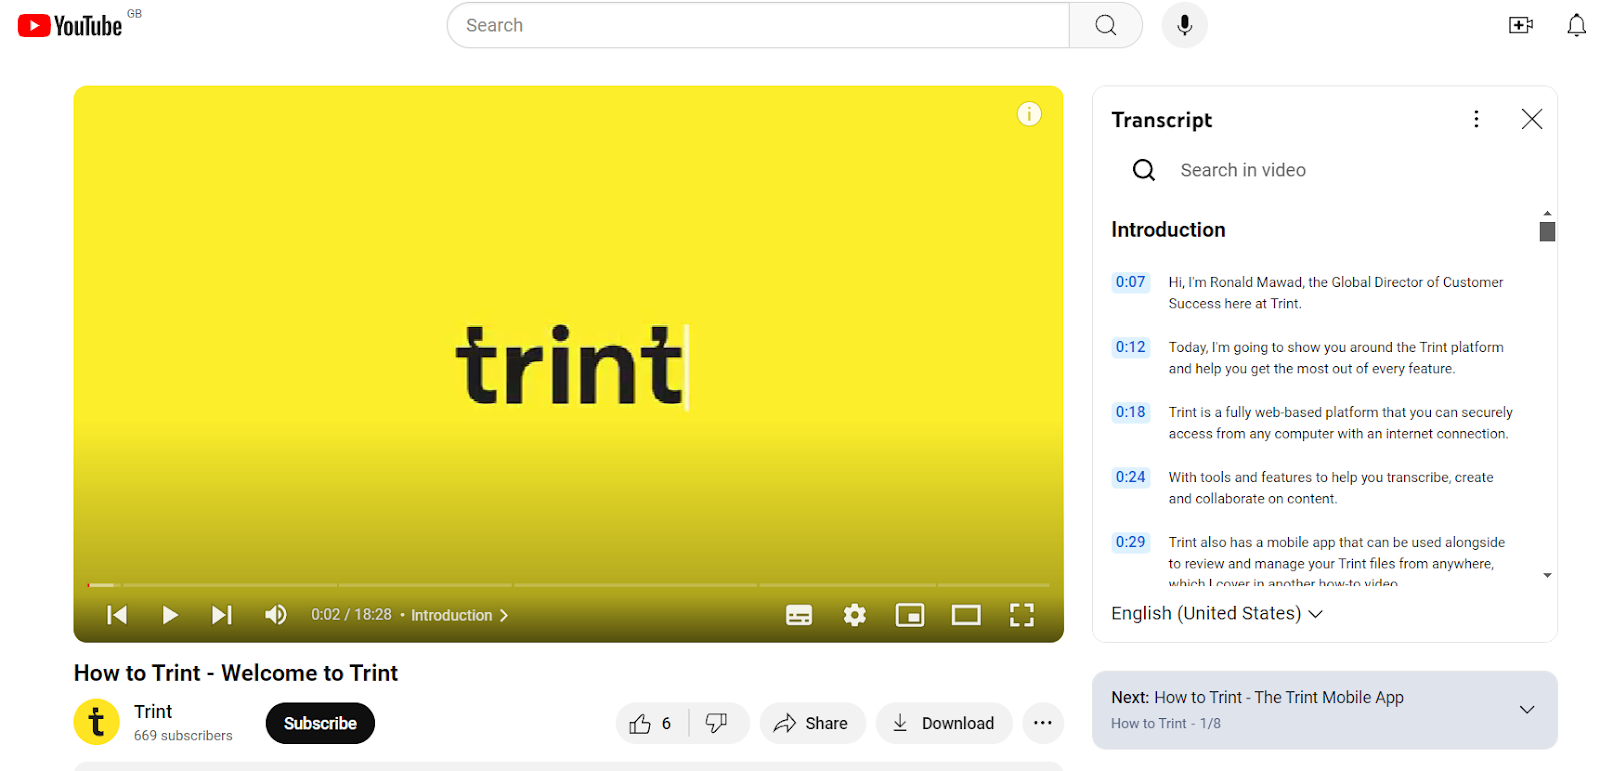
- A full transcript of the video will appear at the top right of the screen, just next to the video, so you can follow along.

But let's be honest, YouTube's transcript generator isn't exactly known for its accuracy. We've all seen those captions that don’t even come close to matching what's actually being said. Plus, there’s another drawback: YouTube doesn’t let you edit or save transcripts for later. If the transcription’s off, there's no way to change it. So, if you’re aiming to create accurate captions or make your content more accessible, YouTube's built-in tool quickly becomes more of a hassle than a help.
YouTube’s transcription services are also limited to default languages. In some cases, you might get a few language options, but that’s about it, making accurate translation a real challenge. This is where an app like Trint comes in.
Get YouTube transcripts with Trint

With Trint, you can transcribe video to text in just a few minutes. Our automated transcription software can transcribe more than 40 languages with up to 99% accuracy.
- Log in to Trint
Log in to your Trint account to start transcribing your YouTube video. New to Trint? No problem! Sign up today and explore our range of subscription plans. We have a range of options, including starter plans, so there'll be an option to suit your needs. You can even kick things off with a free 7-day trial to see how easy transcription can be.
- Upload your video file
Head over to "Upload" in the top left corner of your dashboard. If you're using our mobile transcription app, you'll find it at the bottom left of your screen.
Select or drag and drop the video file(s) you want to transcribe — Trint supports MP4, WMA, MOV and AVI formats. Make sure your video has crisp, clear audio and minimal background noise for the highest-quality transcript. Any disruptions in your audio can affect the accuracy of the final transcription.
- Select your language
Choose the language you want to transcribe your video file in. This will be the language your YouTube video is in. If you need your transcript in a different language, no worries: our translation tool lets you convert it afterwards!
- Wait for your transcription
Hit "Transcribe" then grab a cup of coffee while Trint gets to work. You can see how your YouTube video transcription is progressing from your dashboard.
- Playback your transcript and make any edits
Once your YouTube transcript is ready, click on your file to open it in the Trint Editor. Here, you can scroll through your transcript and edit it just like any other text document.
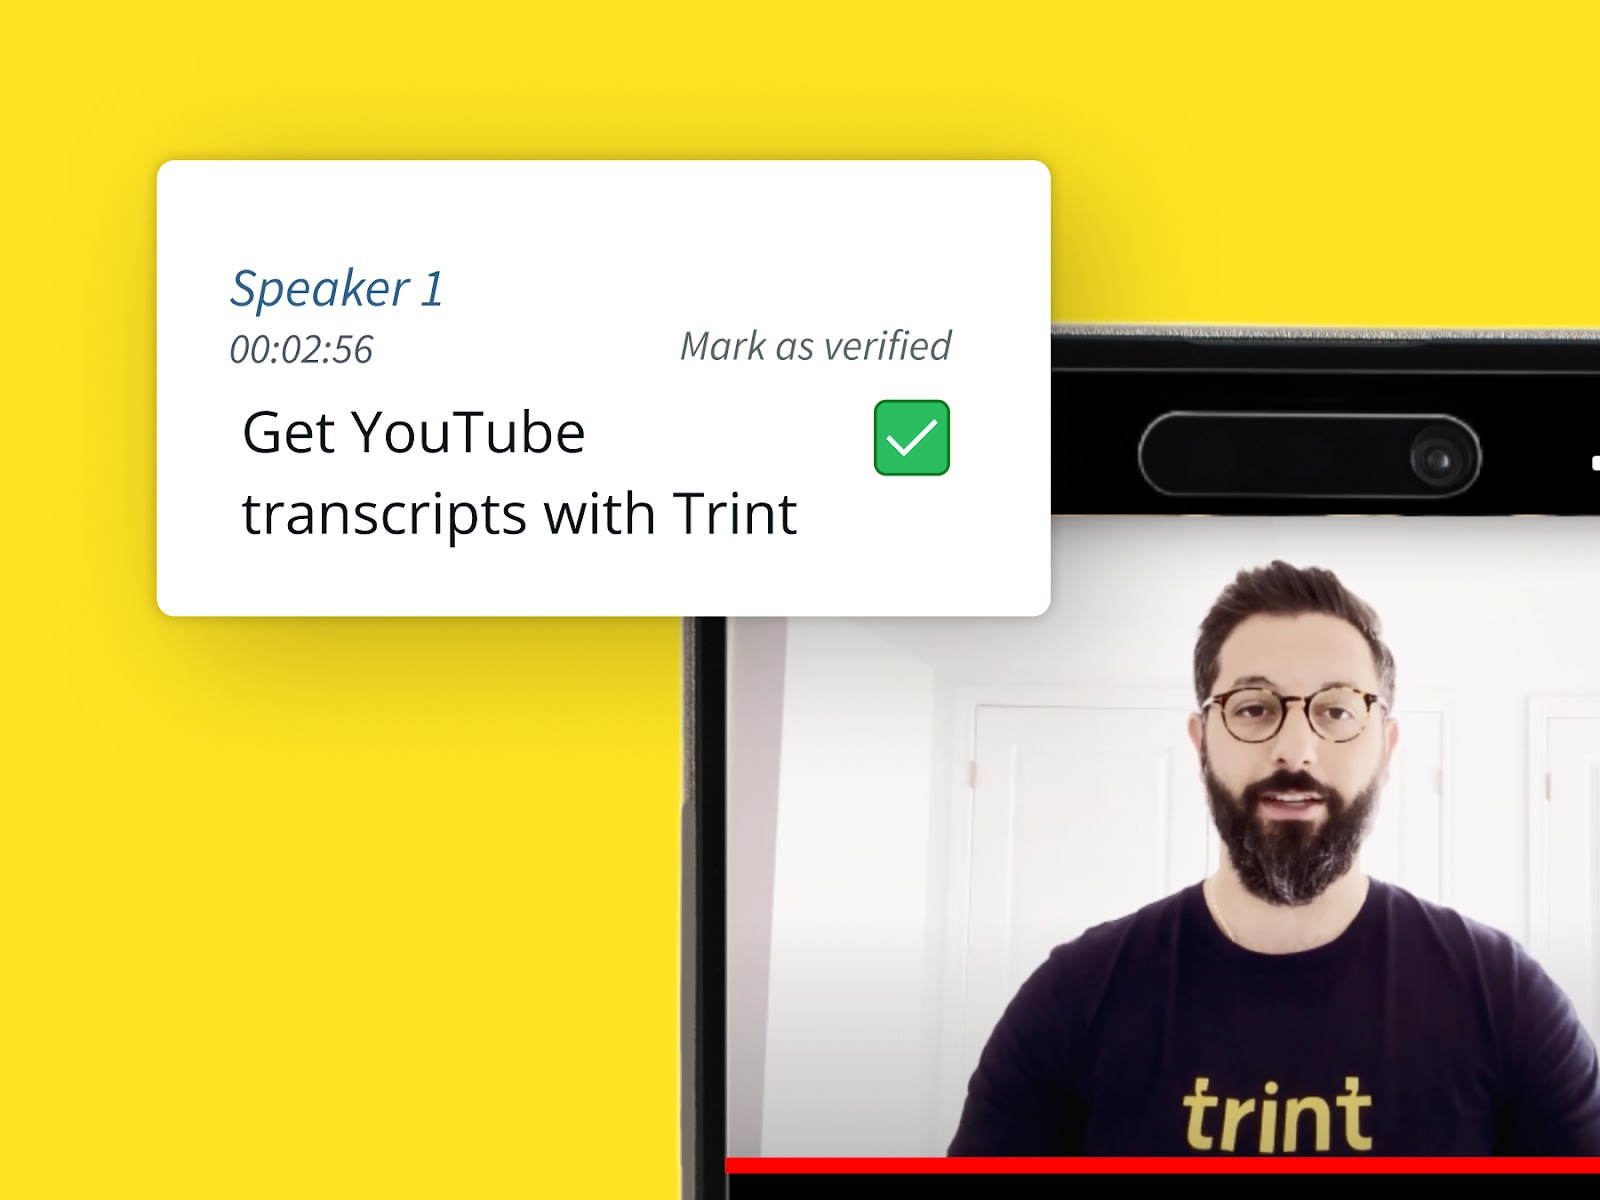
Trint works with up to 99% accuracy and with our Caption Editor, you can get everything absolutely perfect. Your YouTube transcript will have timecodes to make reviewing a breeze. You can add the name of the speaker for each section here too.
The Trint Editor comes with a suite of powerful tools to help you maximize your transcripts. You can find more information on how to use the Trint Editor in our help center.
- Export your document and share it with the world
When you're happy with your YouTube video transcript, all that's left to do is export it. Just click the "Export" button at the top of your browser and choose your file format. Trint offers nine options, including Microsoft Word Documents (.docx), making it easy to choose what works best for you.
Once exported, you're ready to share your transcript with the world.
Want to find out more about our transcription software and caption generator? Check out our blog post on the differences between Trint and YouTube's transcription and book a demo to see for yourself.

DON'T take our word for it
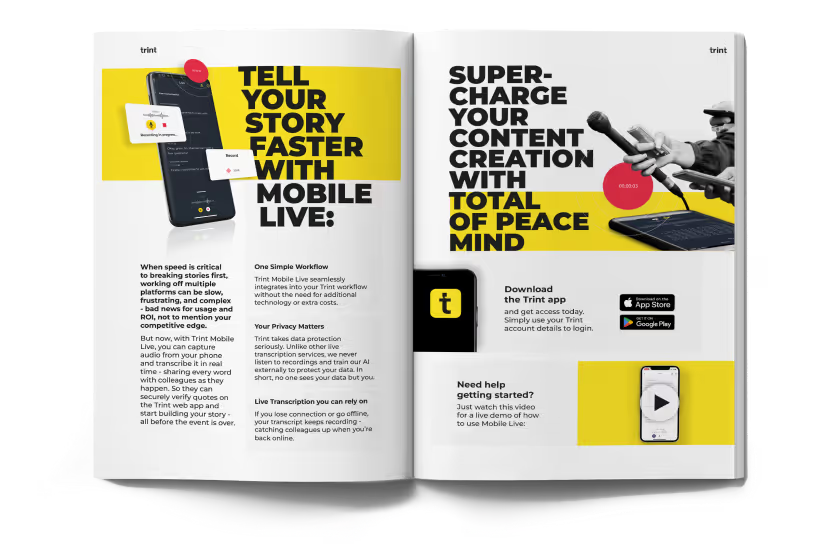
Download our eBook, Telling Stories Faster With Trint, and hear how Trint is making content creation faster, easier and, most importantly, painless for newsrooms across the world.
Download


